Wednesday, December 10, 2014

2015 Limited Edition Tea Towel Calendar

satsuma_street_tea_towel_calendar_2015_mary_blair_small_world_disney

One of my favorite things to collect is vintage Vera Neumann scarves, I try to find them in every thrift store and flea market I go into, but the one thing I've never found found is one of her classic linen tea towel calendars.  So this year, I decided that I needed to design a Satsuma Street calendar and have it printed on fabric and stitched into a tea towel, just like the vintage Vera ones I covet!

satsuma_street_tea_towel_calendar_2015_mary_blair_small_world_disneyland

I really enjoyed designing this calendar, and building the little cityscape around each month in my colorful, Mary Blair and Small World inspired style!

satsuma_street_tea_towel_calendar_2015_mary_blair_small_world_disneyland

In a Vera inspired touch, I added a little signature to the bottom corner of the towel with a little satsuma orange.  I guess that's becoming my trademark!

I've decided to make these tea towel calendars a limited edition, so I'm only making 100 of them.  They're already selling pretty fast, so if you want one, get yours now!  You can find them in my etsy shop here.

Wednesday, October 8, 2014

coming soon...

satsuma_street_cross_stitch_christmas_ornaments_modern_set

Though the weather is still in the 90's here in Los Angeles and we haven't even started carving pumpkins yet, I'm busy working on Christmas patterns for Satsuma Street! I've been wanting to do a set of cross stitched ornaments for a while now, so these little cuties will be part of a set of six, and I'm really enjoying how they're turning out! They stitch up so fast, you'll be able to make several in a weekend. A set to give away, and one to keep! Look for them in the shop in a couple of weeks!

Monday, September 22, 2014

Satsuma on the Radio!


I was profiled this weekend on the NPR show Marketplace Weekend as an example of "the new normal"… how people are making money in this economy in new and different ways. Though it might seem strange, the internet is actually making it easier for some handmade artisans to make a living selling their work. Platforms like Etsy have made it really simple to connect with people all over the world who are interested in buying from small sellers like me.

I hope you'll take a few minutes to listen to the story, it's really well produced and gives a nice little glimpse into a day in my studio. You even get to meet one of my cats! And a big thank you to the lovely people at Etsy and Marketplace who put it together, I'm honored to have been featured!

Thursday, August 21, 2014

Satsuma Street Giveaway!


Who doesn't love a giveaway?? I've teamed up with the super awesome craft magazine Mollie Makes to do a little end-of-summer contest and the lucky winner will get FOUR free patterns from my Etsy shop! (And that's any patterns, not just the city designs.) The contest ends September 9th, 2014…so run on over to the Satsuma Street or Mollie Makes Facebook pages to enter or…go right here!

Thursday, August 7, 2014

it's never too early...

satsuma_street_counted_cross_stitch_halloween_modern_design

to get a little spooky! I decided to get a jump on the holidays this year, and I love Halloween so I went crazy and started stitching ghosts and black cats in the middle of summer! It's hard to find modern, sophisticated Halloween counted cross stitch designs, so I wanted to make something different and fun but still classically Halloween!

satsuma_street_counted_cross_stitch_halloween_modern_design

I love how the strong black and white typography sets off against the bright candy colors, and since the whites are all left unstitched it's a surprisingly fast project for how large it is.

satsuma_street_counted_cross_stitch_halloween_modern_design
I couldn't resist finishing it as a funky throw pillow with some crazy pom pom trim, but I also considered framing it in a gothic-style black frame for a great way to greet trick-or-treaters!

Add some punch to your Halloween this year with this crazy mixed-up colorful design, only from Satsuma Street! 

Friday, June 6, 2014

Happy Fishy Friday!

mermaid_modern_cross_stitch_satsuma_street

Just thought I'd share a little sneak peek at a new pattern I'm working on.  Should be in the shop in a couple weeks!

Monday, May 12, 2014

Amsterdam!

satsuma_street_cross_stitch_city_amsterdam_dutch_danish_netherlands_small_world

The summer after I graduated from college, I spent a couple months backpacking around Europe by myself.  It was an amazing experience, but at times it was scary and intimidating to be alone in these big cities where I didn't speak the language.  The last place I visited before heading back to London to catch the plane home was Amsterdam, and I fell in love with the city.  It was so welcoming and beautiful, and the people were so nice and helpful, I almost stopped being homesick!  I haven't been back to Amsterdam since, but I knew I wanted to pay tribute to it with a Pretty Little City pattern.
satsuma_street_cross_stitch_city_amsterdam_dutch_danish_netherlands_small_world

Amsterdam has been one of my most requested cities, so I know I'm not the only one who has a special affection for this lovely place.  I hope I get to go back someday, but in the meantime I can look at my cross stitch and remember the wonderful memories I made there.
satsuma_street_cross_stitch_city_amsterdam_dutch_danish_netherlands_small_world

Pretty Little Amsterdam, available in the shop now!

Monday, April 7, 2014

tips for cross stitching with metallics


If you don't follow me on Instagram… well why don't you??  I LOVE Instagram, it's been such a fun way to connect with my customers and find a community of cross stitchers who share my love of modern design and crafts.

I love responding to questions about my designs, my process, and cross stitching tips on Instagram too. After I posted pics of my new design, Arcadia, I had several requests for tips on working with metallic threads.  Metallics are a great way to add some sparkle and life to your cross stitch work, but they are a PAIN to deal with.  Metallic floss seems to have a mind of its own and staying on your needle and laying nicely on your fabric are just not always what it wants to do.  It also gets weakened and frays quite easily, and then you end up with a mess.

I used to dread working with metallics as much as anyone else, until I learned this technique which completely changed my mind.  As several of my Instagram followers claim, this is a game changer!

First I should state that in my opinion, all metallic accents should be done LAST.  Seriously, finish all your other stitching first, and then do the metallics.  It's hard to wait because they are so pretty, but metallic threads are more fragile and more likely to get snagged, and if you are still working on your fabric for a while, the metallic stitches are going to end up looking raggedy by the time you're done.

OK, so photographing a single strand of metallic floss is basically impossible, so in the photo below, pretend that the red floss is just ONE strand of metallic thread:

Step 1: cut 16" of metallic floss and pull out a SINGLE strand, not two. Fold that strand in half and thread the folded end into your needle eye.

Step 2: pull enough of that folded end through the eye until you can flip the looped thread over the sharp end of your needle.

Step 3: While hanging onto the doubled part of your floss with one hand, pull the needle to tighten that loop and slide the loop towards the eye of the needle. You are basically making a half-hitch knot at the end of your needle.

Step 4: pull the knot tight until it sort of "locks in" at the point where your needle ends. Now you just stitch as you normally would, essentially stitching with two strands. This method keeps the floss from sliding and twisting around, and all the fraying should happen right at the base of the needle which won't get used anyway.

This does mean that you're stitching with only 8" of floss at a time, but with metallics, anything longer than that and you will get frayed spots for sure.

If you find that pulling the little knot through the fabric is difficult, try going up to a larger needle size than you would normally use.  That will help stretch the holes out a bit, which will help the rough thread go through easier.

If you haven't tried this technique before, I hope you give it a try!  And if you have other tips for working with metallics, I'd love to hear them!

Monday, March 31, 2014

my blue heaven...

satsuma_street_arcadia_mary_blair_small_world_cross_stitch_blue_city

Sometimes I just have an idea in my head, and I can't rest until I see it materialized.  That was this case with this new pattern I've released, which I'm calling Arcadia.  It was inspired by one of my favorite concept paintings by Mary Blair, of white buildings on a blue background.  I thought it would be fun to try that palette in cross stitch, and when I came upon this fabric by Charles Craft, I just had to do it!

satsuma_street_arcadia_mary_blair_small_world_cross_stitch_blue_city

This design was just begging to have some accents of metallic threads added, so in addition to the neutral color palette, I used three shades of DMC's Light Effects threads to add a little special sparkle to the project.

satsuma_street_arcadia_mary_blair_small_world_cross_stitch_blue_city

I'd love to see this pattern on other colored fabric besides blue... I think it would look great on pink or mint green, and absolutely smashing on black!  As always, I love to see my customer's project photos, so please share them on the Facebook page or on Instagram using the tag #satsumastreet!

Tuesday, March 11, 2014

Biscornu Basics


I had never heard of a "biscornu" until recently, but it seems they have been all the rage in cross stitching for some time, and I just love their quirky little shape, so I thought I'd try my hand at designing them.  My 
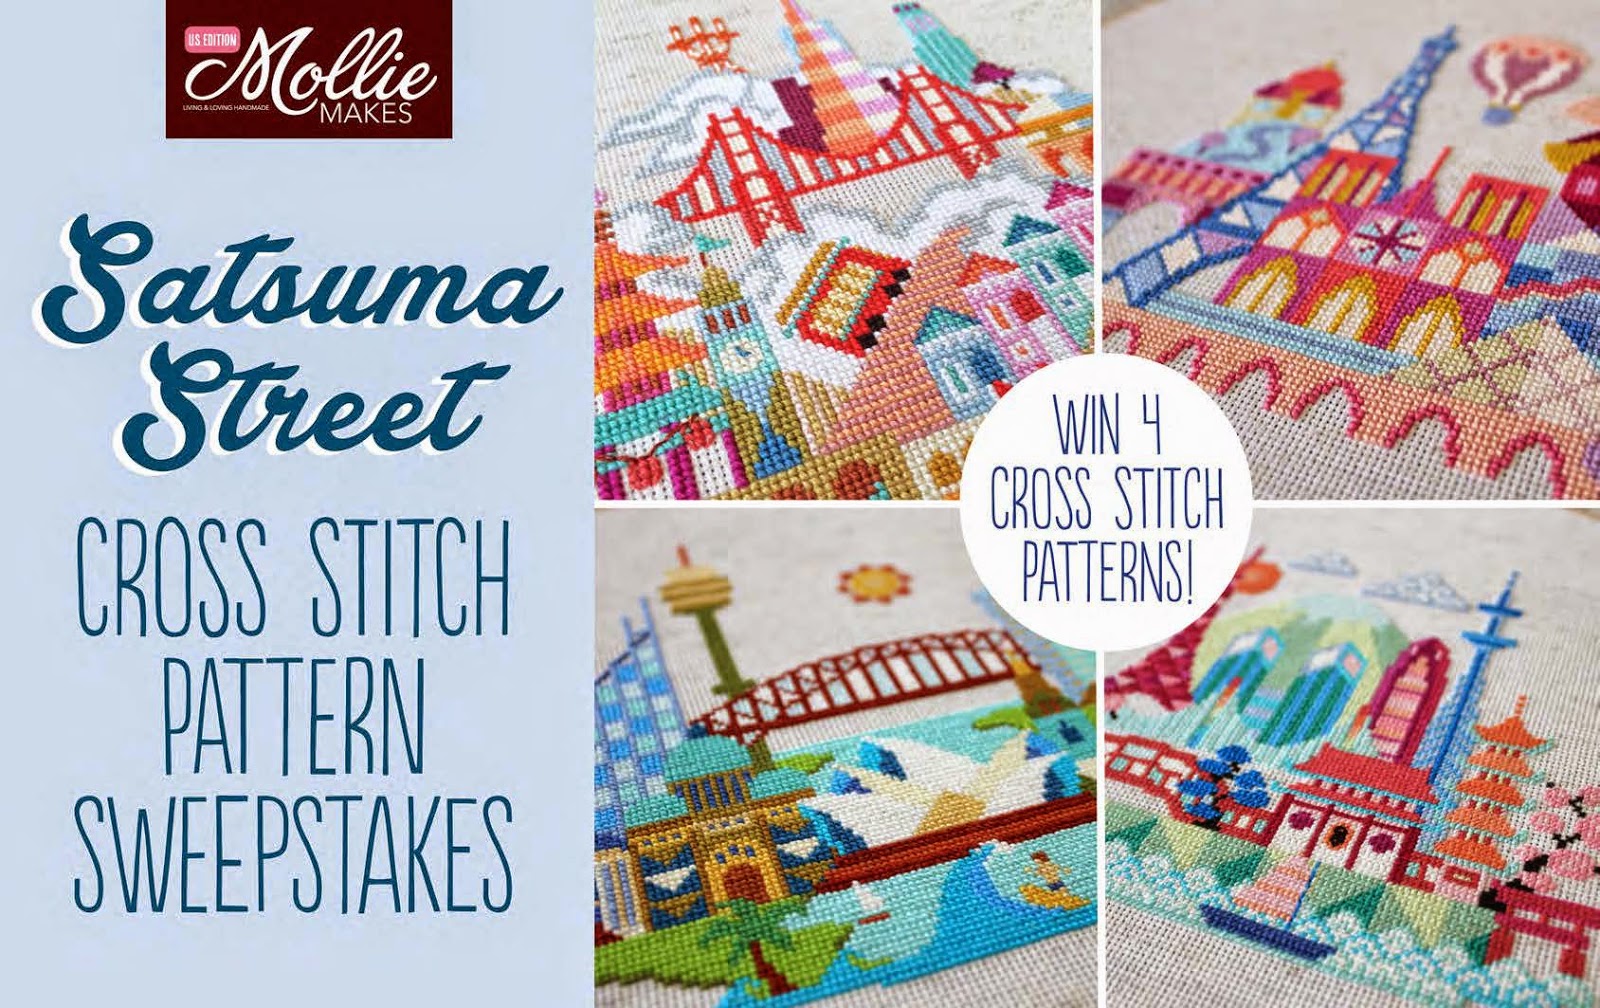
elephant biscornu was my first attempt, and it was so fun, I did another!  This time I thought I'd do my "satsuma" name proud and designed a funky little citrus motif.  I love this little orange so much, I've made it my Satsuma Street icon!  The pattern and a printable version of this tutorial are available in my shop now.

There are many excellent tutorials out there for making biscornu, but I get asked for directions quite frequently, so I thought I should post my own.  Once you get the hang of it they are really quite easy, and you'll be making them as gifts for everyone you know!

So, let's get started.  Biscornu are traditionally made using Aida cloth or evenweave linen, my sample is stitched on 28 count linen over two threads.  In addition to your cross stitch fabric and floss, you will need some type of stuffing, heavy sewing thread, and two buttons with a shank.  I use 1/2" buttons in this sample.

The most important thing to keep in mind when making a biscornu is that each piece must be exactly square, and have the same number of back stitches around the edge on all sides.  Your pattern can have even or odd number of stitches, this pattern is 72 stitches square.

The first step is to stitch your cross stitch charts onto two squares of fabric.  Make sure to also work the row of back stitches all the way around the chart as shown below. (click any of the photos to see them bigger!)

When you're done with the cross stitching, press both your pieces of fabric well.  Trim your excess fabric to 1/2" outside the back-stitched border.  It's a good idea to finish the edge of the fabric so it doesn't unravel while you're assembling the pincushion, you can either zig zag the edge on a machine or whip stitch by hand.

Knot a piece of floss that matches your back-stitched border and bring your needle up through the fabric at a center point on one side of the border of your top fabric.  Line up that point with a corner point on your bottom fabric.  You can finger press the seam allowance, turning under so that the back stitching is right on the folded edge.

Sliding your needle under the back stitches but not catching the fabric, begin to whip stitch the two pieces together, making sure to catch one stitch from each border every time. If you start stitching to the right, your needle should slip under the first stitch to the right of center on your top piece, and then also under the first stitch to the right of the corner point on the bottom piece, before you pull your needle and floss all the way through.  You can flip the pieces so the bottom fabric is on top if that is more comfortable, but keep the direction of the whip stitching the same.

Keep the tension of your whip stitch consistent but not too tight. Keep checking as you go to make sure you are matching up your borders correctly and haven’t skipped any stitches.  I find that the whip stitching has to be done in very bright light and at a very relaxed pace in order to go well.  You really don't want to have to pull out this whip stitching, if you do you might also mess up the back stitch border.  So take your time!

When you reach the corner, you should now have lined up the corner point of one piece to the center point of the other. If you did skip a stitch accidentally along the way, you can make it up here by taking two whip stitches in one side of the corner and it won't be too noticeable.  If you're more than one stitch off however, you should probably pull out your stitching to the point that a stitch was skipped.

Don’t pull corner stitches tightly, thinking it will make sharper corner points, just keep a normal tension.  At first it won't seem possible that the points will look good, but after you do 3 or 4 corners, you see the biscornu start to take shape.

Stop whip stitching (you don't need to knot your floss and cut it, you'll be finishing that stitching in a moment) when you are about 4 inches from finishing to leave a space for stuffing. I use a combination of fiberfill and poly pellets, but any stuffing of your choice will work.

The stuffing should be quite full, remember you will be squishing the centers down with a button.  When the cushion is fully stuffed, fold your edges inside and finish whip stitching them together.

The last corner stitch…

Before pulling the last stitch all the way through, pass your needle back through the loop in the floss.  Then pull the stitch tight, making a knot (use this same method to secure your stitching if you run out of floss mid-way through the whip stitching and need to start a new piece).

After knotting your floss, slip your needle into the fabric and bring it out again about a half of an inch away.

Cut your floss close to the fabric, thus hiding the tail of your knot.

The stuffed biscornu, prior to sewing on the buttons:

Using heavy sewing thread (I like quilting thread for this as it's really strong), knot your thread and then bring your needle up from the bottom of the pincushion, exactly in the center.  Thread your button onto the needle, and then go back through to the other side, pulling tight.  I like to go through the button several times to be sure it's secure.  Once the top button is on, repeat the same step to sew on the bottom button, which should hide your knot.  Knot your stitching and hide and cut the tail as shown in the steps above.

And congratulations, you have made a biscornu!  Now get to work, because all your friends will want one too!


happy stitching!
xoxo Jody

Tuesday, February 25, 2014

Pretty Little San Francisco, now in the shop!

san_francisco_cross_stitch_modern_city_design_satsuma_street_mary_blair_small_world_embroidery

Rudyard Kipling once said, "San Francisco has only one drawback - 'tis hard to leave."

As someone who grew up in the Bay Area, I have to agree with him.  Though I love where I live now, to me San Francisco will always be "The City".  Because it has such a big place in my heart, I was a little nervous about designing one of my Pretty Little City patterns for SF, I was worried I wouldn't be able to do it justice.  But I am so happy with how it turned out, and it's in the shop now!

san_francisco_cross_stitch_modern_city_design_satsuma_street_mary_blair_small_world_embroidery

Coincidentally, there is an exhibit of Mary Blair's work opening in San Francisco next month at the Disney Family Museum.  I can't wait to go and see my favorite artist being honored in my favorite city!

Sunday, January 26, 2014

Happy Birthday Satsuma Street! (and a free pattern!)

Well I just couldn't be prouder…my little baby is turning one year old today!  One year ago I opened my etsy shop, not knowing what the response would be.  I had two sales within a few hours of opening the shop, and I started to think I might be right… people were hungry for a new take on cross stitch!

Since that first day the response has been overwhelming and wonderful.  Every day I hear from people who haven't done cross stitch in years, or who have never tried it before but are inspired to take up the craft because they love my designs.  I've worked harder at this than at any job, and every single day has been an absolute joy.  I can't wait to see what the next year will bring!

And because Satsuma would never have been a success without all the amazing customers who have supported me, I'm celebrating my birthday by giving YOU a present!  Please enjoy this new free pattern, Sunshine!


You can right-click on the chart above to download it as a jpeg, or click here to download the PDF.

Enjoy, share with friends, and send me photos of your happy suns on instagram!

hugs & stitches, Jody